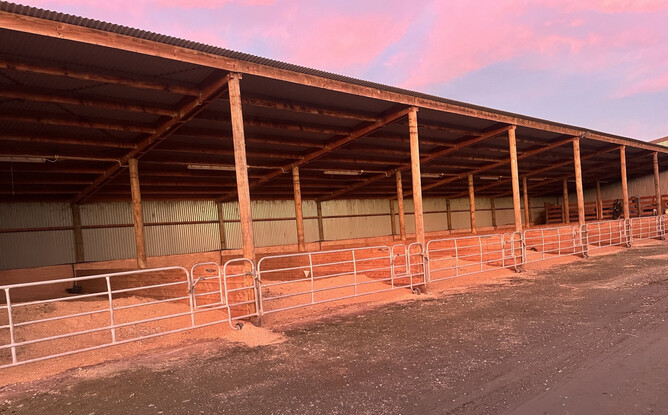
With spring calving just around the corner, now is the perfect time to assess the quality and readiness of your calf sheds. A well-designed shed not only promotes healthy growth, but also reduces the risk of disease spreading among your calves.
Key features of a high-quality calf shed:
Sufficient space – Provide a minimum of 1.5m² per calf, with 10–20 calves maximum per pen.
Adequate ventilation – Ensure there is good airflow, but avoid drafts at calf height.
Clean, comfortable and dry bedding – Exposed concrete, bare earth or mud are not suitable bedding surfaces.
Unlimited access to fresh, clean water – Hydration is essential for growth and immune function.
High-quality feed in suitable quantities – Support rumen development with appropriate nutrition.
An ‘all-in all-out’ system – Group similarly aged calves together and move them through the shed as a unit.
Solid pen dividers – Prevent contact between calf groups in different pens to reduce cross-contamination.
Separation of bobby and replacement calves – House bobby calves in pens away from those used for replacements.
A dedicated isolation/hospital pen – Sick animals should be housed separately and well away from healthy calves.
No free-standing water, mud or effluent – Keep the area around calf sheds clean and dry to prevent infections.
It’s easy to take a “she’ll be right” attitude when it comes to preparing the calf shed. But if you want to get the most value from your calves, it pays to ensure they are raised to a high standard.
If you’d like a professional opinion or are looking for fresh ideas when it comes to setting up your shed, give us a call! One of our vets or vet technicians will be happy to help.